


 |
 |
 |
 |
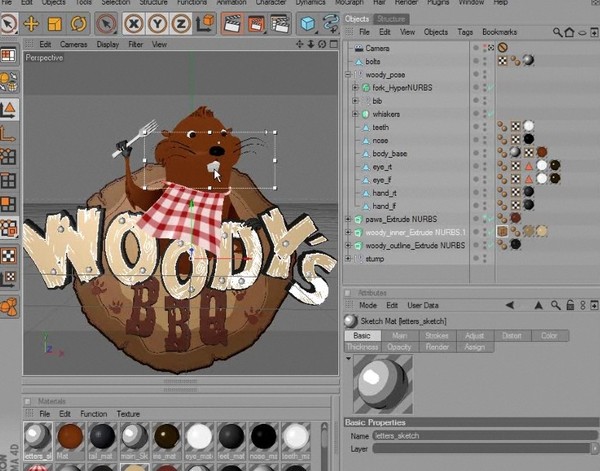 |
We'll start this course by using as much of our original logo as possible to begin the rebuilding process. We'll use curves from Illustrator as a basis for extruding sections of geometry. We'll explore ways to combine splines to create cutouts for some of the letters and how we can begin to organize and layer our geometry. We'll also use a little bit of ZBrush to go through the process of posing Woody, the beaver from our Creating Cartoon Characters training. We'll put everything together and use CINEMA 4D's Sketch and Toon rendering to create a nice cartoony final render. Once done, you'll not only have a finished 3D logo, but you'll be able to create and translate your own logos into 3D.
Ŀ¼:
������Ƶ�̳�Ŀ¼���ţ�
1. Introduction and Project Overview
2. Importing and cleaning up Illustrator curves
3. Modifying the stump curves
4. Creating the stump geometry
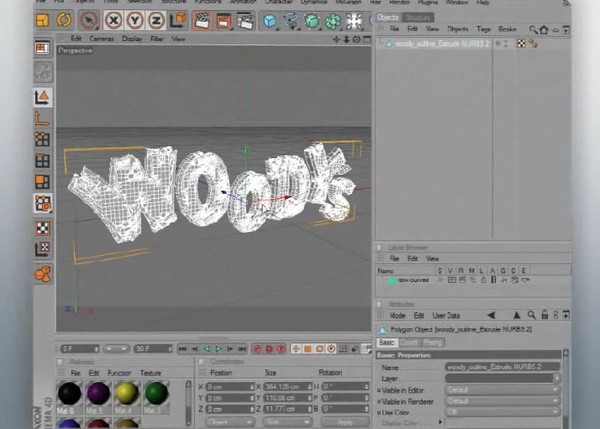
5. Creating the text geometry
6. Exporting polygonal text geometry
7. Preparing the character geometry
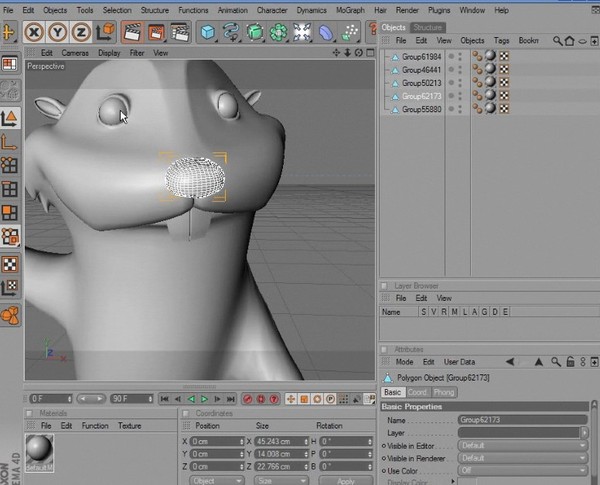
8. Assembling geometry in ZBrush
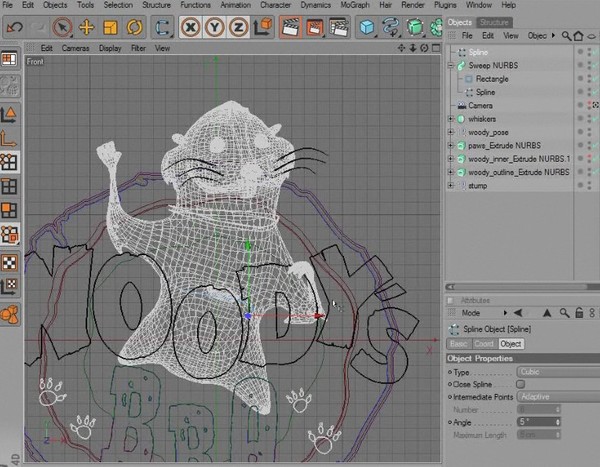
9. Posing Woody in ZBrush
10. Finishing the pose
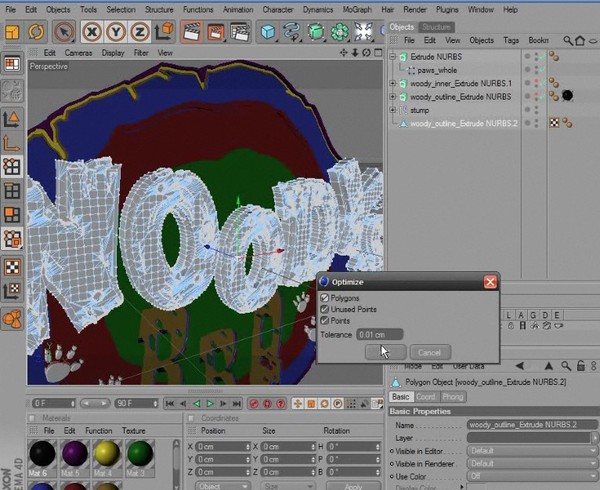
11. Assembling geometry in CINEMA 4D
12. Building Woody's bib
13. Adding the bolts and fork
14. Setting up materials on the stump and text
15. Adding the bib material
16. Setting up the toon render
17. Adding a background and creating a final render